Tag Archives: stitches

Happy Surprise!

8 Oct

I could not be happier to figure out that my sewing machine does little tiny letters!

image

I never paid attention to that section of buttons because it’s all about memory functions, which I don’t use.

image

Here I am trying to figure out how to make size tags and all of the sudden I find this little gem hiding in the corner of my machine. This is a game changer! I’m so very excited.

This leads me to realize I really need to take a class on my machine. I would love some more decorative stitches and I have this plate:

image

Does this mean I can find more stitches sonewhere? I really need to figure that out! Anyone out there have this machine and know the answer?

Christmas Gifts Finished, Finally.

12 Dec

My family is no longer allowed to have children. Seriously, that’s a lot of pajamas!I’m not joking! {OK, I’m joking, I love all these kiddos and I want more more more!}
2 boys and a thousand girls {6 girls} Christmas pajamas have been sewn. I started planning this in September. And I will do it again next year:) I am hoping they will wear them Christmas eve!

Hand dyed flannel fabrics: Purple/Pink/Blue

Jersey fabrics: Green and Dark Purple old jersey sheet sets.

Florals: Already in my stash from grandma’s and such.

DIY ombre dye! Had fun dip dying the skirt fabric before I cut out the pattern.

DIY ombre dye! Had fun dip dying the skirt fabric before I cut out the pattern.

Vintage floral pattern was used to supplement my lack of purple fabric. I simply love the way this one turned out.

Vintage floral pattern was used to supplement my lack of purple fabric. I simply love the way this one turned out.

This is not my favorite style, but I was so happy to learn how to sew this!

This is not my favorite style, but I was so happy to learn how to sew this!

Oldest cousin's dress. I couldn't decide if she would like pink or purple better, so i did both.

Oldest cousin’s dress. I couldn’t decide if she would like pink or purple better, so i did both.

The Green accent in this dress actually pulls in the rest of the collection. {accidental, but I love it}

The Green accent in this dress actually pulls in the rest of the collection. {accidental, but I love it}

The simplest of the bunch for Eli.

The simplest of the bunch for Eli.

Special hem!

Special hem!

Fleece Pajamas

Each child that is receiving a separates set has a special stitch design.

Each child that is receiving a separates set has a special stitch design.

Olive's didn't get a bow, because when mommy is the seamstress, she skimps on yours! Promise I won't do this next year!

Olive’s didn’t get a bow, because when mommy is the seamstress, she skimps on yours! Promise I won’t do this next year!

Fleece Pajamas

Bow on the back of the booty, to match her newborn sister.

Bow on the back of the booty, to match her newborn sister.

Since this set is for a newborn, I add a bow on the bottom of one of the pant legs.

Since this set is for a newborn, I add a bow on the bottom of one of the pant legs.

This collar didn't exactly turn out perfectly, but I ended up liking the look.

This collar didn’t exactly turn out perfectly, but I ended up liking the look.

Fleece Pajamas

And ruffles:)

And ruffles:)

This very special girl loves the color green, so she got the green jersey instead of the purple!

This very special girl loves the color green, so she got the green jersey instead of the purple!

Lessons learned:

  • ask for waist measurements of all the kids {some of them might be too big}
  • This pattern’s torso length is insanely short. {Ruffles, and special hems were added to extend the length for the kiddos because I could feel it in my bones that they are going to be belly shirts)
  • Ironing freshly RIT dyed fabric results in discoloration.
  • Sewing the armseye on a size 5 or smaller is difficult unless you sew it flat}.
  • Sometimes I hem one pant leg in the rong direction, which means technically one pant is sewn on backwards. Thank goodness this pattern has a similar front and back.
  • I will not put in as much effort for my own clothing {or my own children} as I do for sewing gifts for other people. I hope to improve this.

So what do you think?

Sewing a T-shirt V-Neck Band {Tutorial}

1 Nov

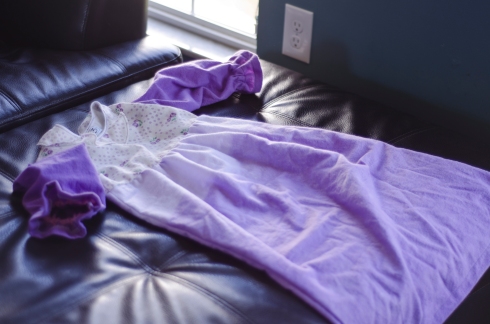
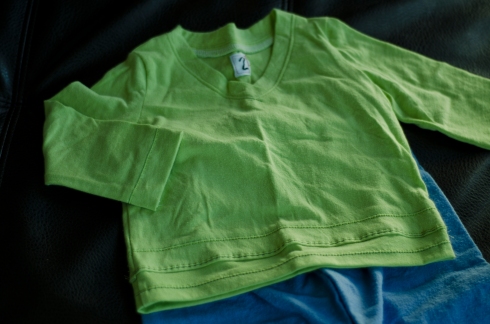
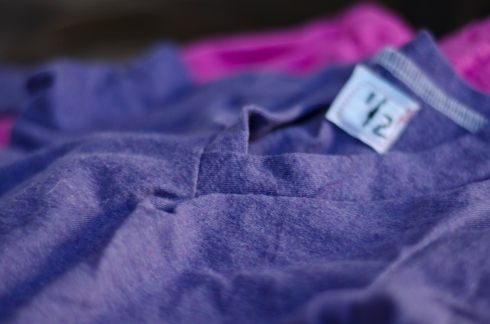
I am making a billion {8} knit pajama tops for Christmas gifts this year, and I have gone from feeling intimidated by neckbands, to feeling pretty comfortable with them. I thought I would share my step by step with you, just in case someone out there might need some second reference. I am using a walking foot, and crazy old leftover jersey sheets. This is a 4T sized neckband, so don’t be alarmed at its size:) I mainly use the lighting bolt looking stretch stitch on my Bernina, and a stretch needle. I wish I had a ballpoint needle {you’ll see why later}.

Overlap your neckband. Right over left, or left over right, do what you please.

image

Baste the ends of the neckband together along seam lines {I did 5/8in}, though all thicknesses.

image

Basting the second side, forming an X.

image

Then Baste up the center, to make a star {*}

image

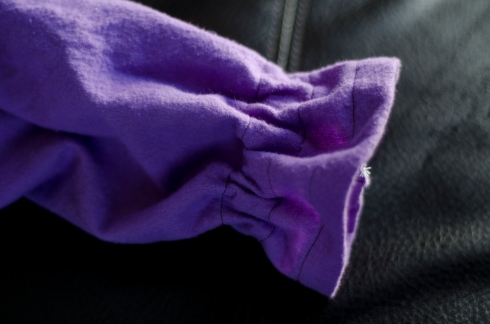
It will look this when you are finished. I also reinforced the center front of the shirt. I was careful not to stretch the fabric, and I used a normal stretch stitch. Then I snipped the V right to the dot, being careful not to snip my stitches that I just sewed.

image

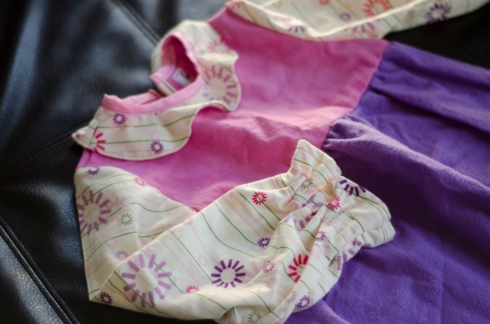
Next up, I made sure to complete the neck hole, by joining the sleeves right sides together. No I’m ready to put the band in!

image

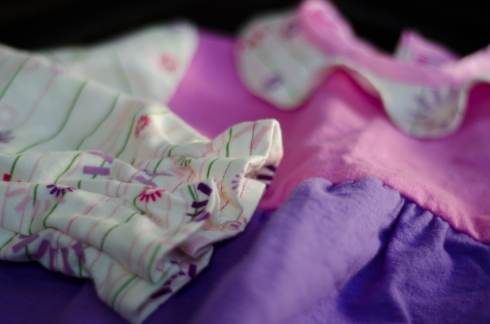
It’s really hard to show this in pictures, but I did my best, so here goes.

With right sides together, pin the neckband to the neck edge, matching center back notches, and aligning the shoulder seams with the dots that match. Match the center front dot on the shirt front with the center of your star, and pin.

image

Here you can see how I pinned the V. {There will be a lot of extra fabric in the V on the other side, I made sure the head of the pin was lined up in the center of the star and went all the way through the center dot to match them up, then the rest of the pin goes through to keep the pin in, not to hold the gobs of fabric in place}

image

On the wrong side, start sewing at center back, adjusting the fabric as you go to match notches, and dots accordingly. {The band is slightly smaller on purpose! That ensures it to lay flat when finished.} When you get close to the V, take the needle that is matching the star and center front dot out half way. Keep the needle poking out so it still keeps the matches together, but doesn’t direct the rest of the loose fabric. {Watch out! It’s pokey}

image

Sew along the 5/8in {or whatever your seam allowance is}. Keep the raw edges together, you will still be sewing a straight line, and the shirt front will be flat against the band, where you are sewing {but not on the other side of the V}. Sew until you hit the center of the V, which is also the center of the star, keep your needle down and get ready to pivot. {I can not say the word pivot without screaming it in my head like Ross from Friends}

image

Needle down still, lift your presser foot up. Rotate the neck so that your now facing the rest of the V. You’ll want to adjust the excess fabric so that this side now lays flat and the raw edges align. Lower the foot, and sew the rest of the neck, all the way around, easing in the shirt to the band and continuing to match dots and notches.

image

This is what it will look like. {hopefully} Sometimes I mess it up, and I rip it out and do it over. Or, I call it a feature, convince myself I like it better than the normal and leave it. It happens, we’re human.

image

Then I sew another reinforcing line just inside the original line.

image

Rip out the basting seams. There are three, and go carefully. You do not want to rip out the ones you just worked so hard to get right. I will actually pull out the baste  seams when I can, grabbing one of the ends and pull slightly, sometimes they pull right out, sometimes they need the seam ripper.

image

Then you have this beautiful V. {I was using a stretch need but it’s not ballpoint. I recommend a ballpoint if you are worried about the basted lines showing}

image

Here’s what it looks like on the other side.

image

I pressed it.

image

Then serged it. If you don’t have a serger, you don’t need one. Just go straight to the top stitching.

image

And the other other side’s view.

image

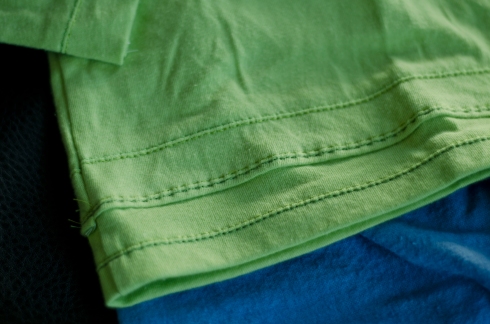
Topstitch. Use a fun stitch that has a stretch to it, this one is slightly thicker of a stitch. I start at the center V and just go around if I am using a crazy stitch and just overlap them at the end. I like the look and it’s easier than trying to guess when the needle is going to be going forward or backwards. If your using a regular stretch stitch or zig zag, you can get fancy, start at the center back and then keep your need down when you get to the point of the V, rotate and have a lovely finished V.

image

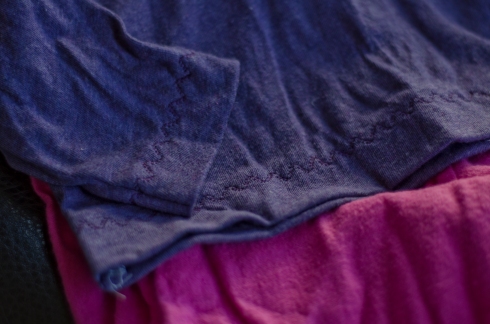
I saw that some of my foundation stitches showed through here, so I ripped them out, and used some water to erase my water soluble ink dot.
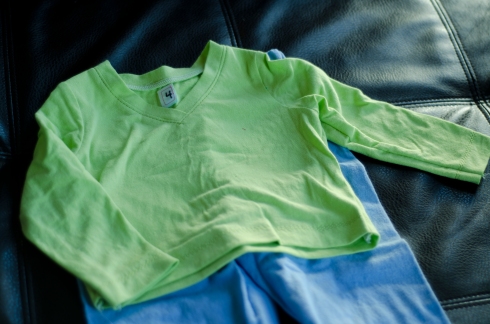
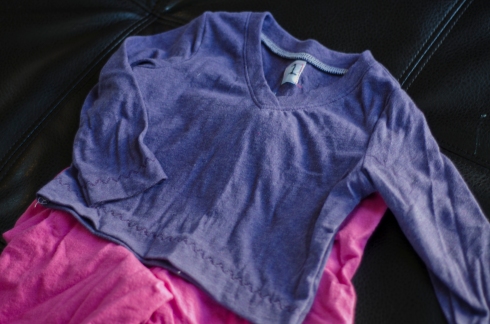
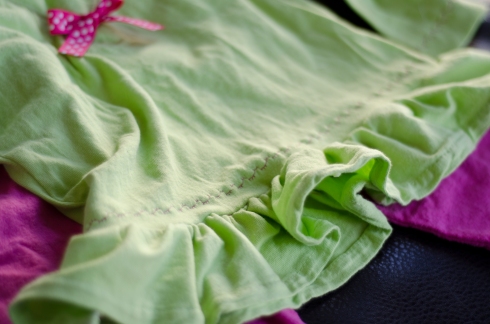
image

And here it is!

image

Expanding a Sweater

21 Aug

This sweater was extremely small in the arms. My dad works for Abercrombie & Fitch, and he was lucky enough to go to a sample sale. I was thrilled to receive a few bags from said sale, but he accidentally grabbed a couple bags that were smalls and boys smalls, even! I took two sweaters and combined them to make a sweater that fits!


Continue reading

Handmade Memories

1 Aug

I was given about 6 or 7 bags full of scraps from my mother, who got them from her grandmother, and mother. {I know, I have an addiction to fabric, but it’s so useful!} As I was peaking through my new additions, I found a bag full of already pieced quilts. 2 huge extremely scratchy quilts, 1 random cotton square pieced wall hanging or baby blanket, and 2 of these pinwheel panels.

I decided to go ahead and make these straight into pillows. They have a shabby cheek look to them because they were less than perfectly pieced. The fabrics are sweet but random, and they don’t actually match even though they go together {does that make sense?} I assume my great grandmother made them, although I’ll have to ask around first to be sure. One of them was hand sewn and one of them was zigzag stitched together, and neither of them had any fabric on the edge of the back piece, so making them look the same size would have been impossible. I do love the quaintness of them, and they remind me of my grandmother, so win, win!

Eli had just decided to de-stuff his cheap Ikea pillow {well worth the $1 we paid} during one of his naps so I used the stuffing from all over his room and pulled this project together in about 5 minutes. I think they make a cute addition, and compliment our skull themed pillows rather well on the couch.

In the meantime, I need to figure out what to do with these scratchy giant {not so adorable} quilt tops I got. I’m thinking the goats might need some blankets in the winter! Any ideas?

July Handmade Gift number 1!

14 Jun

Shhh, Don’t spoil the surprise, but here is my first handmade gift for the lineup of July birthdays!

Continue reading

Progress

12 Jun

My first attempt had hand embroidery! I used the chain stitch and I love the way it turned out.

image